Thursday, June 4, 2015

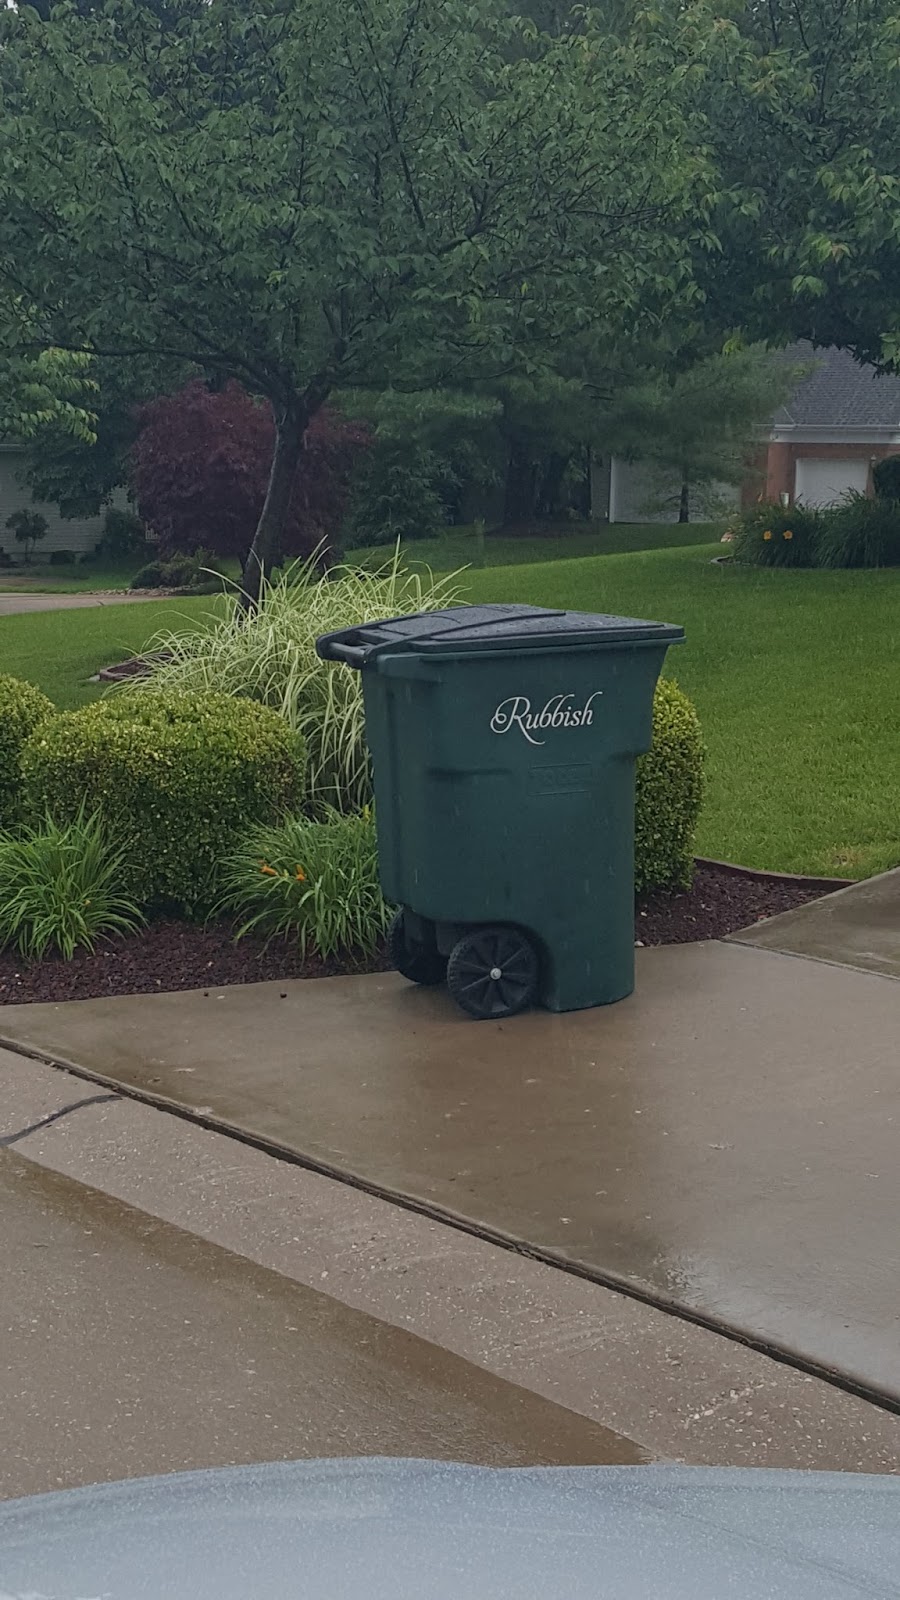
Rubbish

I am sure I have officially lost my "type A" marbles. My trash cans were getting old and used so I decided to do a makeover.

This is my old 10 year junky trash can


 A little spray paint and a stencil from etsy - Total cost about $30.00


At the curb... I think it is actually pretty awesome/funny!


Read more →

Tuesday, November 25, 2014

About Me...

My Life In Pictures

Me - At Coachella 2015


My hubby

Our three sons... when they were little. They are much older but still handsome!


My McKenna...


Entertaining, one of my favorite things to do...


Doesn't matter if I am entertaining for eight people or twenty....


Mix in love of fashion....


Add a fair amount of wine with friends...


Wanderlust...


And finally, hit the gym and get rid of the food and wine.


That about sums it up... :-)


Read more →

Sunday, November 23, 2014

Pine Cone Place Cards


I found these on Pinterest and decided to give it a try. This cost $11 and I got everything at Michaels (Pine Cones were 50% off today), if you have the right pine tree you obviously can get them for free. And the Martha Stewart silver paint was $4.49. It took about 30-40 minutes to do twenty of them.
Start with basic pine cone.


Add Martha Stewart Silver paint to the tips...


I printed out 3x2 name tags using calligraphy font "Tangerine" - Free on freefonts.com (sorry a bit blurry)


30 minutes later here is the finished product - NICE!


Read more →

Friday, August 8, 2014

Holiday gift basket

Every year I spend a full day in the kitchen baking Christmas cookies.
Don't get me wrong, I don't mind baking but a full day of it at the Holiday Season sometimes ends up being more stress than fun.
I switched it up a bit this year and spent about 2 hours in the kitchen
and ended up liking it just as much, if not more.

I made Fresh Bread baskets with Pear/Cranberry Chutney and Pecan/Honey butter ...YUM!


There are a lot of people that think making home made bread is hard but if you have a mixer it takes about 10 minutes.
I used an Easter Bread recipe because it is a little sweeter and it is super easy


This dough takes about 30 minutes of actual time out of your day but about 3 hours of rising time.

In a measuring cup mix together 1 cup lukewarm milk (you will need to warm it in microwave for about 30-45 secs to get it lukewarm) and then add 1 package of yeast. stir with a fork for about 30 seconds to dissolve yeast. Add 2 tablespoons sugar and 3 heaping teaspoons of bread flour to give it a thick consistency (don't worry, you can't mess it up). Set aside for 10 minutes and cover with a towel.

In your mixing bowl mix 2 cups bread flour, 1 teaspoon salt, 1/4 cup Olive Oil, and your yeast mixture which now should be somewhat puffy from rising. Mix it all together on medium speed for 10 minutes with dough hook. Should end up a firm, smooth dough.
Place dough in large bowl and cover with towel. Let rise for 1.5 -2 hours.
Punch down dough after risen and shape any way you would like (I rolled out two foot long strips and braided them. Put on baking sheet and cover for another hour to rise.
Bake at 350 degrees for 10-20 minutes.

I added an pecan honey butter spread in a jar along with a cranberry relish.
The honey butter is super easy with just 3 ingredients; Pecan Honey Butter Recipe
The cranberry/Pear Chutney was pretty easy also and the tartness goes great with the
bread and butter. Cranberry Pear Chutney Recipe


All and all this was a lot easier than making dozens of cookies and it's a little something 
different for a gift during the holiday season!

Read more →

$120 Garage Entry Remodel


At our house the garage entry is used more than the front door.
I finally took some time to spruce it up. This cost around $120.00 to re-do.


I went to Lowes and purchased: 1 piece of bead board, 
4 wires shoe racks that attach to wall, 1 shelf, 2 baskets, 
3 coat hooks and small container of black enamel Paint. Total $98.00


I found this place on etsy for the lettering on the door:
It was $9.00 and says Est. in 2004. She did a great job and I had it in the mail 
within a couple of days, quick turnaround!

All in all this took about 6 hours and $120.00 and it was easy enough for me 
to do myself and surprised my husband when he came home.


Read more →

Friday, November 15, 2013

My free Christmas Tree!


This year I decided to make a 100% natural Christmas tree (except a burlap bow at the top) for my back patio.
Everything on this tree was found on the side of some road close to my home. It is amazing the beautiful foliage that is still left this time of year!

Backseat of my car with weeds that will soon be ornaments!

3 cans of spray paint; 1 gold, 1 silver and 1 red .
This weed was one of my favorites, up close it looks exactly like a snowflake!

These also turned out pretty cool! Be careful, these have small stickers on them.
I took a pair of yard gloves and scissors with me when I went out to find my free decorations :-)
These were just so pretty I left them alone, they glow with the lights behind them.


and more...

I took the above from bushes in my yard, great filler- Spray painted the ends and done!
I also picked pine cones out of my yard and sprayed them red to add a little color.

The finished product is below!


Total cost for me, zero! Used spare paint and my burlap bow came from scraps of burlap I had.
Not bad for a FREE TREE!

Read more →

Saturday, October 26, 2013

Easy Burlap Book covers


I have recently fallen in LOVE with burlap. It started last year when I switched my Christmas decorations from  gold and silver to a rustic twigs, burlap and natural look. Since then I have literally purchased 20 or so yards of burlap and have made curtains, covered pillows, etc. I had some leftover from curtains I had just made and decided to put the scraps to use.

This takes about 10 minutes a book and is super easy. I stole the idea from restoration hardware. I was browsing the store and they had a shelf of linen covered books that I thought were for sale (turned out they were for decoration) but I figured out how they did it and decided next time I had extra fabric I would give it a try. I picked up the books at a garage sale for 25 cents a piece so the entire project only costs me a few dollars.

What you will need: Fabric, Mod Podge, book, scissors, sponge brush.

Step 1
Cut out the material about 3" wider than the size of the book you are wrapping.


Step 2
Paint the cover and bind of the book with Mod Podge, leaving the 3" extra fabric on the ends. Once the front and spine are done flip the book over and Mod Podge the back. Make sure the fabric is taught.


Step 3
Cut corner flaps at an angle shown below


Step 4
Open up book and Mod Podge the flaps into book. Carefully trim the excess material at the 
spine of book. The fabric does not get tucked into the spine just carefully cut at edge.


Step 5

To cover up the jagged ends you are going to paint the entire inside cover with Mod Podge, and carefully flip over the front page to glue down. The do the same to back page of book. 
This gives it a nice finish if anyone opens it up.


With just an hour or so and less than $10 total this is how they turned out!
I interchanged linen and burlap covers. The burlap is a bit harder to work with because it is stiffer but once you get the hang  of it - Super Easy!!


Read more →
Copyright © Constructive Therapy | All Rights Reserved | Web Design by Debbie Navarro | Powered by Blogger